Technical Assessment: Automated Laser Tube Processing for Roll Cage Fabrication
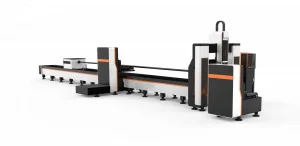
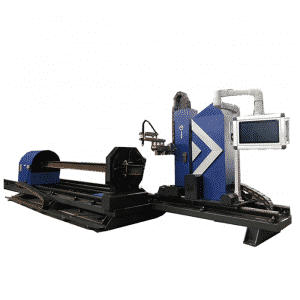
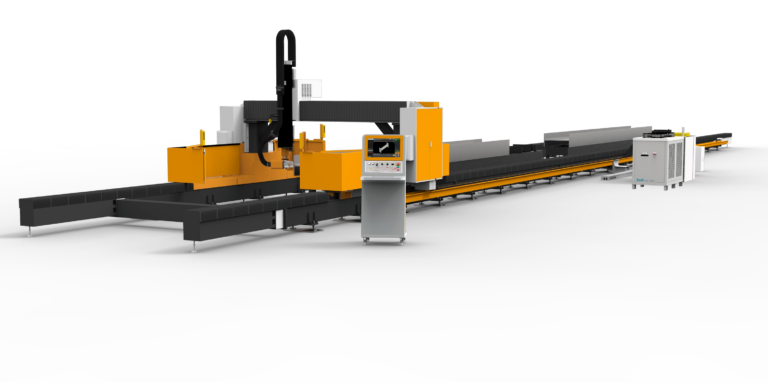
When we talk about the best automatic pipe laser machine for vehicle roll cage welding prep, we are not discussing a simple cut-off saw upgrade. We are addressing a fundamental shift in metallurgical edge condition, joint fit-up tolerance, and heat-affected zone (HAZ) management. In my two decades on the floor, I have seen more roll cages fail at the weld nugget due to poor prep than due to material grade selection. The transition from abrasive chop saws or plasma to a dedicated 3D fiber laser tube cutting center is the single highest-leverage investment for a fabrication shop specializing in FIA or SFI spec cages.
This analysis focuses not on the sales brochure, but on the operational reality: After-Sales Troubleshooting, Consumables Lifecycle Management, and Preventive Maintenance. We will dissect why a 3kW to 6kW fiber source, operating within specific duty cycles, outperforms legacy methods, and what it costs you in real terms when the maintenance schedule slips.
Metallurgical Reality vs. Mechanical Baseline
Let us establish the baseline. For a typical DOM (Drawn Over Mandrel) tube, grade E4130 or a standard S355JR structural tube, the welding prep demands a clean, oxide-free surface with a dimensional accuracy of ±0.1 mm on the intersection line. A mechanical saw gives you a burr. Plasma gives you a nitride layer that must be ground off before TIG or MIG welding. Both methods induce micro-cracks at the cut edge if the feed rate is aggressive.
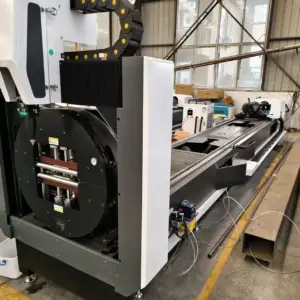
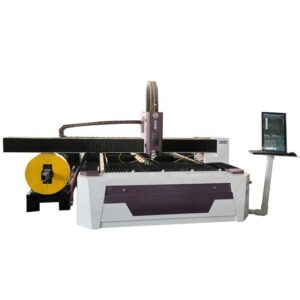
A fiber laser, specifically a 2D/3D hybrid machine with a B-axis and C-axis rotary chuck, changes the physics. At a wavelength of 1064 nm, the absorption rate for steel is significantly higher than CO2 lasers. We are talking about cutting speeds on S355JR (3 mm wall) of 4.5 to 6.0 meters per minute with a 4kW resonator, using Nitrogen as the assist gas. The key metric here is edge squareness. With the correct focal position (typically a 150mm collimator and a 100mm focusing lens), you achieve a dross-free, perpendicular edge that requires zero secondary deburring. This is the difference between a weld that is purely structural and one that is cosmetic.
Critical Parameters for Roll Cage Specifics
Roll cages are not straight pipe. They are compound miters, saddle cuts, and notches at angles like 45° with a 15° rotation. The machine must handle the “shark bite” or fishmouth profile without the laser head colliding with the chuck. This is where the mechanical design of the chuck matters more than the laser power.
- Chuck Pressure: For a 50.8 mm OD tube (2.0″), the pneumatic chuck must deliver a clamping force that prevents slippage during high-torque rotation. We spec this at a minimum of 0.6 MPa to 0.8 MPa line pressure. If the pressure drops below 0.5 MPa, you induce torsional vibration, which ruins the cut edge and can shatter the ceramic nozzle.
- Gas Delivery: For pure cutting of mild steel (S355JR), you run Nitrogen at 1.2 to 1.5 MPa. If you switch to Oxygen for faster cutting of thinner walls (1.5 mm), you drop to 0.3 MPa but introduce an oxide layer that must be wire-brushed. For roll cages, we always advise Nitrogen. The cost of the gas is offset by the elimination of the cleaning labor step.
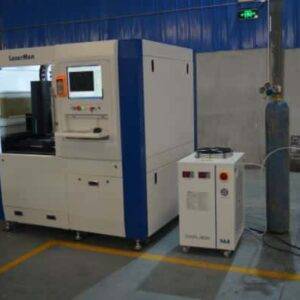
- Frequency & Duty Cycle: A pulsed mode (e.g., 500 Hz to 1000 Hz) is used for piercing to avoid reflecting the beam back into the fiber. Once piercing is complete, you switch to Continuous Wave (CW). The machine must be rated for a 100% duty cycle at 3kW for at least 4 hours of continuous cutting. If the chiller cannot hold the water temperature at 22°C ± 1°C, the resonator will derate, and you will see striation marks on the cut face.
Comparative Analysis: Legacy vs. Fiber Laser
To quantify the investment, we must look at the total cost of ownership, not just the purchase price. Below is a comparison based on a batch of 200 cut joints for a single roll cage kit.
| Parameter | Conventional Plasma / Sawing | 3D Fiber Laser (4kW) |
|---|---|---|
| Edge Condition | Nitride layer (plasma) / Burrs (saw) | Oxide-free, dross-free (N2 assist) |
| Dimensional Tolerance | ±0.5 mm (manual fit-up required) | ±0.05 mm (direct weld fit) |
| Secondary Operations | Grinding, deburring, cleaning (45 min/part) | None (0 min/part) |
| HAZ Width | 0.5 mm – 1.0 mm (plasma) | < 0.1 mm |
| Cycle Time (per notch) | 180 seconds (including manual handling) | 45 seconds (auto-load, auto-cut) |
| Consumable Cost (per 100 parts) | Electrodes, swirl rings, saw blades ($120) | Nozzle wear, lens cleaning ($15) |
| Operator Skill Required | High (manual torch control) | Low (CNC programming, supervision) |
The data is clear. The laser eliminates the human variable in the fit-up stage. But this efficiency is contingent on rigorous maintenance discipline.
After-Sales Troubleshooting: The Real-World Failure Modes
I have been on site where a brand-new 6kW machine is down because the operator ignored the coolant conductivity. The deionized water in the chiller loop must maintain a conductivity below 5 µS/cm. If the resin filter is not replaced quarterly, the conductivity rises, leading to electrolysis inside the laser head optics, which destroys the protective window. This is not a warranty issue; it is an operational negligence issue.
Another frequent fault is nozzle misalignment. After a crash (which happens when the CAD/CAM nesting software does not account for the tube sag on long parts), the operator must check the concentricity of the nozzle to the beam. We use a simple tape test: fire a single 0.5-second pulse at 200W on a piece of acrylic. If the burn mark is not perfectly centered on the nozzle hole, the cut quality degrades immediately. The fix is a shim adjustment on the cutting head—a 10-minute job that most operators skip, choosing instead to increase the gas pressure to compensate, which only creates more turbulence and dross.
Consumables Lifecycle Management
Let us talk about the ceramic nozzle and the focus lens. On a laser cutting S355JR with Nitrogen, the nozzle life is approximately 200 to 300 piercing cycles. After that, the orifice becomes elongated due to the plasma flashback during piercing. If you see a “flared” cut edge at the start of the profile, check the nozzle first. Do not blame the beam quality. The lens, specifically the ZnSe (Zinc Selenide) or the newer CVD (Chemical Vapor Deposition) types, has a lifespan of roughly 800 to 1000 hours of cutting time. The failure mode is not cracking; it is coating degradation. You will notice a gradual loss of cutting speed or an increase in the required power to maintain the same speed. Track this in your ERP system. If you are not logging the hours on the lens, you are flying blind.
For the chiller, the deionization resin is a consumable. Depending on your local water hardness, you will replace the mixed-bed resin cartridge every 3 to 4 months. Ignore this, and the laser diode temperature will spike, triggering an alarm at 30°C. The machine will shut down to protect the optics. This is the most common “phantom” error we troubleshoot remotely.
Preventive Maintenance Schedule for the Tube Laser
Preventive maintenance on these machines is not about greasing bearings. It is about optical cleanliness and mechanical alignment. I recommend a strict weekly and monthly protocol.
- Weekly: Clean the protective window on the cutting head. Use acetone and a cotton swab. Inspect the bellows on the Z-axis for metal dust accumulation. Metal dust is conductive and will short out the limit switches.
- Monthly: Check the alignment of the beam path. Use the thermal paper test at the first mirror, second mirror, and final lens. The burn pattern must be concentric. If it is off by 1 mm, you are losing 10% of your cutting power.
- Quarterly: Grease the ball screws on the linear axes with a lithium-based grease (e.g., Kluber Isoflex NBU 15). Do not use standard automotive grease; it will separate under the high G-forces of rapid traversing.
- Annually: Replace the wiper seals on the chuck jaws. The rubber degrades from the cooling fluid mist. If the seal fails, the pneumatic cylinder will leak, and you will lose clamping force mid-cut, resulting in a scrapped part and a potential collision.
The calibration of the capacitive height control is also critical. The sensor that maintains the standoff distance (typically 0.5 mm to 1.0 mm) must be calibrated against a known shim thickness. If this drifts, the focus point moves, and you get a rounded top edge on the cut. This is a 15-minute procedure that should be done at the start of every shift if the shop floor temperature fluctuates significantly.
In terms of programming, the CAD/CAM system must account for the kerf width (typically 0.2 mm to 0.3 mm on a 4kW machine). If you are cutting a lap joint for a roll cage, the inner tube must be undersized by the kerf amount. If the software does not do this automatically, you will end up with interference fits that require hammering, which defeats the purpose of laser precision.
Finally, consider the extraction system. The fine dust from laser cutting is carcinogenic. The filter cartridges must be checked weekly for pressure drop. If the differential pressure exceeds 1500 Pa, the extraction efficiency drops, and the dust settles on the linear guides. This is not just a health issue; it is a mechanical wear issue that will lead to premature failure of the guide rails.
Selecting the right machine is only the first step. The operational discipline you apply to the consumables and the maintenance schedule will dictate whether you achieve the theoretical ROI of 18 months or stretch it to 36 months. The technology is proven; the variable is always the human adherence to the maintenance matrix.
FAQ: Procurement Considerations for Roll Cage Laser Systems
Q1: What is the minimum laser power required to cut 3 mm wall DOM tubing for a roll cage without dross?
For 3 mm wall mild steel (S355JR), a 3kW fiber laser is the absolute minimum for productive cutting. However, I recommend a 4kW source. The extra 1kW allows you to run at a higher assist gas pressure (1.5 MPa) and a faster feed rate, which reduces the HAZ further. With 4kW, you are operating at the sweet spot of the cutting curve, not at the edge of the capability envelope where dross formation becomes unpredictable.
Q2: How does the chuck design affect the cutting of long, unsupported roll cage tubes?
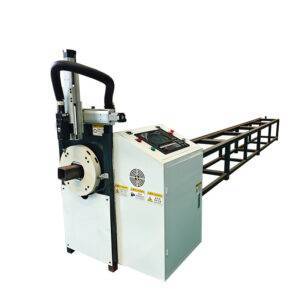
The chuck design is critical. For tubes over 3 meters, you need a front chuck and a rear steady rest. The rear rest must be a self-centering unit with nylon rollers to avoid scratching the tube surface. If the machine only has a single chuck, the tube will whip during high-speed rotation, causing the cut path to deviate. Look for a machine with a “flying” chuck design that moves along the Z-axis, keeping the support point close to the cutting head at all times.
Q3: What are the hidden installation costs associated with a 4kW fiber laser tube cutter?
Do not underestimate the electrical requirements. A 4kW fiber laser draws approximately 25 kW of power. You will need a dedicated 125A, 400V three-phase supply. Additionally, the chiller rejects a significant amount of heat—around 18 kW. Your shop’s HVAC system must handle this heat load, or the ambient temperature will rise, affecting the laser’s stability. Budget for a closed-loop chiller with a remote radiator to exhaust heat outside the building. Also, factor in the cost of a high-pressure Nitrogen supply. If you do not have a bulk tank, you will be changing cylinders every few hours, which kills productivity.