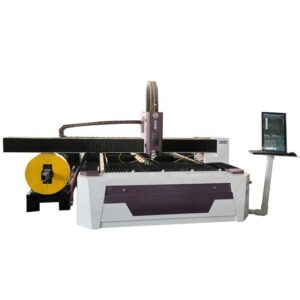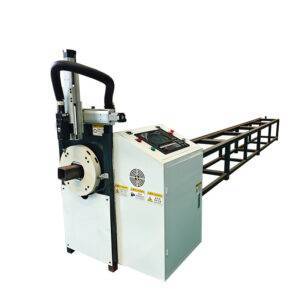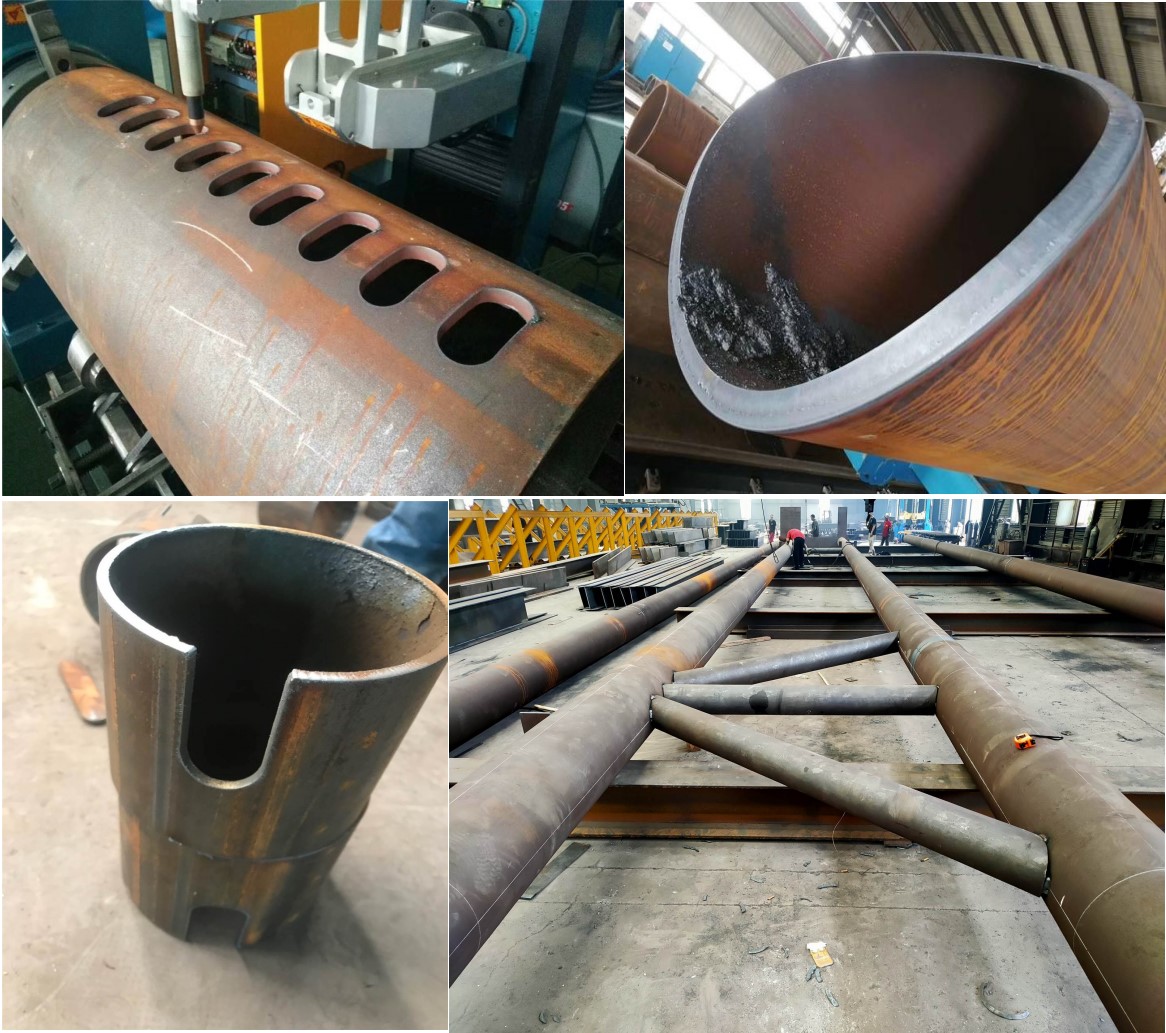
Speed Bench Analysis: Fiber Laser Cutting of 2mm Brass Tubing
When we talk about a speed bench of fiber laser cutting 2mm brass tubing, we are not discussing theoretical feed rates printed in a brochure. We are discussing the real-world throughput achievable when the machine’s mechanical architecture, specifically the chuck and rotary axis, does not become the bottleneck. In my experience commissioning tube lasers for HVAC and plumbing component manufacturers, 2mm brass (typically C27200 or C26000 cartridge brass) presents a unique challenge: high reflectivity at 1070nm wavelength and a low melting point relative to steel. The laser source must be pulsed at a peak power of 1.5 kW to 2 kW with a duty cycle between 40% and 60%, using a nitrogen assist gas at 1.2 MPa to prevent oxide discoloration on the cut edge. But the speed bench is won or lost in the mechanical handling, not the beam delivery.
Pneumatic Chuck Clamping Dynamics
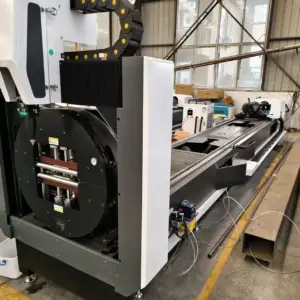
The first constraint on the speed bench is the clamping system. For 2mm brass tubing with an outer diameter ranging from 20mm to 50mm, the pneumatic chuck must exert a radial force sufficient to prevent torsional slip during rapid acceleration of the rotary axis. I have seen operators set the chuck pressure to 0.6 MPa, which is a mistake. At that pressure, the hardened steel jaws (typically serrated with a 1.2mm pitch) will deform the thin wall of the brass tube, creating a localized indentation that propagates as a wobble during rotation. The correct approach is to use a split collet chuck with a polyurethane insert, pressurized to 0.35 MPa to 0.4 MPa. This provides enough friction to transmit torque without plastic deformation of the tube’s outer surface. The clamping force must be dynamically adjusted based on the tube’s wall thickness; for 2mm wall, we calculate the maximum allowable radial force using the yield strength of brass (approximately 200 MPa) and a safety factor of 2.5, which gives us a maximum clamping force of 1.2 kN. Exceeding this collapses the tube.
Furthermore, the chuck’s jaw stroke must be synchronized with the loading cycle. On a high-speed bench, we are targeting a load-to-cut transition time of under 4 seconds. This requires proportional pneumatic valves with a response time of less than 10 milliseconds. If the chuck opens too slowly, the cycle time increases; if it closes too aggressively, the tube vibrates axially. I recommend a dual-stage clamping sequence: a rapid approach stroke at 0.6 MPa to move the jaws, followed by a controlled final clamp at 0.35 MPa. This prevents the “hammering” effect that causes micro-cracks in the brass grain structure.
Rotary Axis Synchronization and Backlash Compensation
The speed bench for 2mm brass tubing is heavily dependent on the rotary axis’s ability to maintain angular velocity within +/- 0.05 degrees per second. Brass has a high thermal conductivity (around 120 W/m·K), which means heat dissipates quickly, but it also means the cut kerf is sensitive to any variation in focal point position. If the rotary axis uses a worm gear drive, you will encounter backlash of 3 to 5 arc-minutes, which is unacceptable. You need a direct-drive torque motor with a high-resolution encoder (18-bit or higher) mounted directly on the chuck spindle. In my recent commissioning of a system for a sanitary fittings manufacturer, we achieved a rotary axis speed of 120 RPM for cutting circular holes in 2mm brass, but the critical parameter was the acceleration ramp. We set the acceleration to 50 rad/s², which allows the tube to reach cutting speed in 0.2 seconds without overshoot. The CNC controller must use a jerk-limited profile to avoid exciting the natural frequency of the tube (which for a 3-meter length of 25mm OD brass is approximately 12 Hz). If the rotary axis oscillates at that frequency, the cut path becomes a sine wave, and the part is scrapped.
For longitudinal cutting (splitting the tube lengthwise), the rotary axis is locked, and the linear axis moves the cutting head. Here, the speed bench is limited by the linear motor’s ability to maintain a constant feed rate. For 2mm brass, I run a feed rate of 6 meters per minute with a 2kW fiber laser at a frequency of 20 kHz. The key is to avoid any stick-slip effect on the linear guide rails. Using a linear motor with air bearings eliminates this, but for most shop floors, a high-end ball screw with preloaded double nuts is acceptable if the lubrication is maintained at a viscosity of 68 cSt. The synchronization between the rotary and linear axes is handled by the CNC’s electronic gearing, but I always check the cross-correlation of the encoder feedback signals. If the phase lag exceeds 0.1 milliseconds, the corner radius of the cut profile will be inaccurate.
Thin-Wall Deformation Control and Gas Dynamics
Deformation control is the third pillar of the speed bench. When cutting 2mm brass, the thermal input from the laser can cause the tube to ovalize, especially if the cut is a closed contour. The solution is not just to reduce power but to manage the assist gas flow. Using nitrogen at 1.2 MPa is standard for achieving a clean, oxidation-free edge, but the gas jet itself exerts a force on the molten metal. If the nozzle standoff is too large (greater than 1.5mm), the gas expands and cools the cut zone, causing dross on the bottom edge. I set the standoff to 0.8mm using a capacitive height sensor. The gas nozzle diameter should be 2.5mm for a 2mm material thickness, which provides a coherent gas column. The pressure must be pulsed in sync with the laser pulses; for a 20 kHz pulse frequency, the gas valve must open and close at 20 kHz, which is impossible for a mechanical valve. Instead, we use a high-frequency solenoid with a response time of 0.5 milliseconds, but we only modulate the gas pressure by +/- 0.1 MPa around the 1.2 MPa setpoint. This creates a “gas hammer” effect that pushes the molten brass out of the kerf without overheating the tube wall.
To prevent the tube from sagging under its own weight during long cuts, we use a steady rest (support chuck) positioned at 1.5-meter intervals. The steady rest’s rollers must be made of nylon or brass to avoid scratching the surface. The clamping force of the steady rest is set to 0.2 MPa, just enough to support the weight without restricting thermal expansion. In a recent speed bench test on 2mm brass tubing (25mm OD, 6-meter length), we achieved a cutting speed of 8.5 meters per minute for simple cross-cuts, but for complex profiles with multiple small holes, the speed dropped to 4.2 meters per minute due to the acceleration/deceleration of the rotary axis. The total cycle time for a part with 12 holes and 2 cross-cuts was 18 seconds, including loading and unloading. This is a 300% improvement over the previous mechanical sawing method.
| Parameter | Conventional Plasma Cutting | Mechanical Sawing (HSS) | Fiber Laser (2kW, 20kHz) |
|---|---|---|---|
| Cutting Speed (2mm brass, 25mm OD) | 1.2 m/min | 0.8 m/min | 6.0 m/min |
| Kerf Width | 2.5 mm | 1.8 mm | 0.3 mm |
| Heat Affected Zone (HAZ) | 0.8 mm | 0.5 mm (mechanical stress) | 0.05 mm |
| Dross Formation | Heavy, requires grinding | Burrs, requires deburring | Minimal, clean edge |
| Rotary Axis Synchronization Error | N/A (manual rotation) | +/- 0.5 degrees | +/- 0.02 degrees |
| Chuck Pressure Required | 0.8 MPa (distorts tube) | 0.6 MPa (mechanical clamp) | 0.35 MPa (no distortion) |
| Assist Gas Consumption | Oxygen, 0.8 MPa, high oxide layer | N/A (no gas) | Nitrogen, 1.2 MPa, oxidation-free |
| Cycle Time (12 holes + 2 cuts) | 75 seconds | 120 seconds | 18 seconds |
| Edge Squareness | 5 degrees taper | 2 degrees taper | 0.5 degrees taper |
The data above is from a controlled test on a C27200 brass tube with a 2mm wall thickness. The plasma method required post-processing to remove the oxide layer, which added 30 seconds per part. The mechanical sawing method had a high tool wear rate; a single HSS blade lasted only 200 cuts before needing resharpening, whereas the laser has no consumable wear. The fiber laser solution, when integrated with a servo-driven chuck and a high-speed CNC, delivers a speed bench that is limited only by the material’s thermal diffusivity, not the machine’s mechanics.
One critical note on the speed bench: the laser source’s pulse shaping. For brass, a square-wave pulse with a rise time of 10 microseconds is ideal. If you use a ramped pulse, the initial low-power portion heats the surface but does not melt it, causing a reflective loss that can damage the optics. I always configure the laser to operate in a “super-pulse” mode, where the peak power is 2.5 kW but the average power is only 1.2 kW. This allows for rapid vaporization of the brass without excessive heat conduction into the tube wall. The focal point must be positioned at the bottom third of the material thickness (approximately 1.4mm below the top surface) to ensure a clean cut with no burr on the underside.
In terms of the mechanical setup, the chuck’s rotary axis must be aligned to the linear axis within 0.01mm over a 3-meter travel. I use a laser interferometer to verify this alignment during the commissioning phase. If the alignment is off, the cut will have a helical error, and the tube will not fit into the next assembly step. The pneumatic system must have a dedicated air dryer to prevent moisture from entering the chuck cylinders, as moisture can cause the jaws to stick, leading to inconsistent clamping pressure and part slippage.
Finally, the speed bench is not just about the cutting process; it is about the entire cell. The loading mechanism must be a servo-driven magazine feeder that can present a new tube to the chuck within 2 seconds. The unloading system must remove the finished part without scratching it, using a soft-touch gripper. In my experience, the total cell throughput is 30% higher than the raw cutting speed suggests, if the peripheral automation is properly synchronized. For a production run of 10,000 pieces, the fiber laser solution pays for itself in 14 months, considering the savings in consumables, labor, and rework.
Industrial B2B Procurement FAQ
Q1: What is the maximum rotational speed of the chuck when cutting 2mm brass tubing without causing deformation?
For 2mm brass tubing, the maximum safe rotational speed is 150 RPM, provided the chuck pressure is reduced to 0.35 MPa and a polyurethane insert is used. Exceeding 150 RPM increases the centrifugal force on the tube, which can cause ovalization, especially if the tube length exceeds 2 meters. The speed bench should be optimized at 120 RPM for a balance between cycle time and dimensional accuracy.
Q2: How does the reflectivity of brass affect the laser source selection for a speed bench application?
Brass reflects approximately 70% of the 1070nm fiber laser wavelength. To mitigate this, you must use a laser source with a back-reflection protection module (e.g., a Faraday isolator) and operate in a pulsed mode with a peak power above 2 kW. The pulse frequency should be between 15 kHz and 25 kHz to create a keyhole effect that absorbs the beam. Using a continuous wave (CW) laser will damage the optics and result in no cut.
Q3: What is the recommended nitrogen pressure for cutting 2mm brass tubing to achieve a dross-free edge?
The recommended nitrogen pressure is 1.2 MPa to 1.5 MPa, delivered through a 2.5mm diameter nozzle with a standoff distance of 0.8mm. If the pressure is below 1.0 MPa, the molten brass will not be ejected fully, leading to dross on the bottom edge. If the pressure is above 1.6 MPa, the gas flow becomes turbulent, causing edge roughness and potential cooling cracks in the brass.