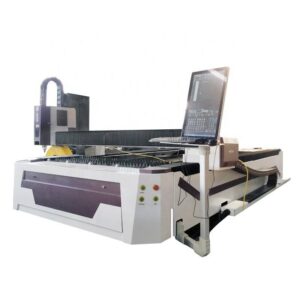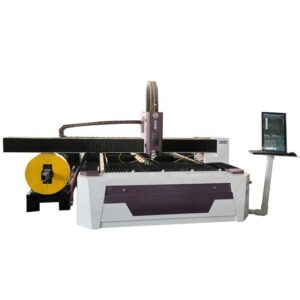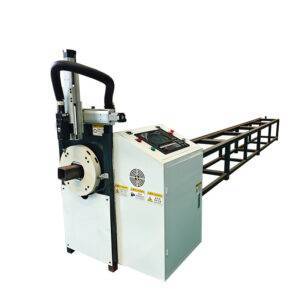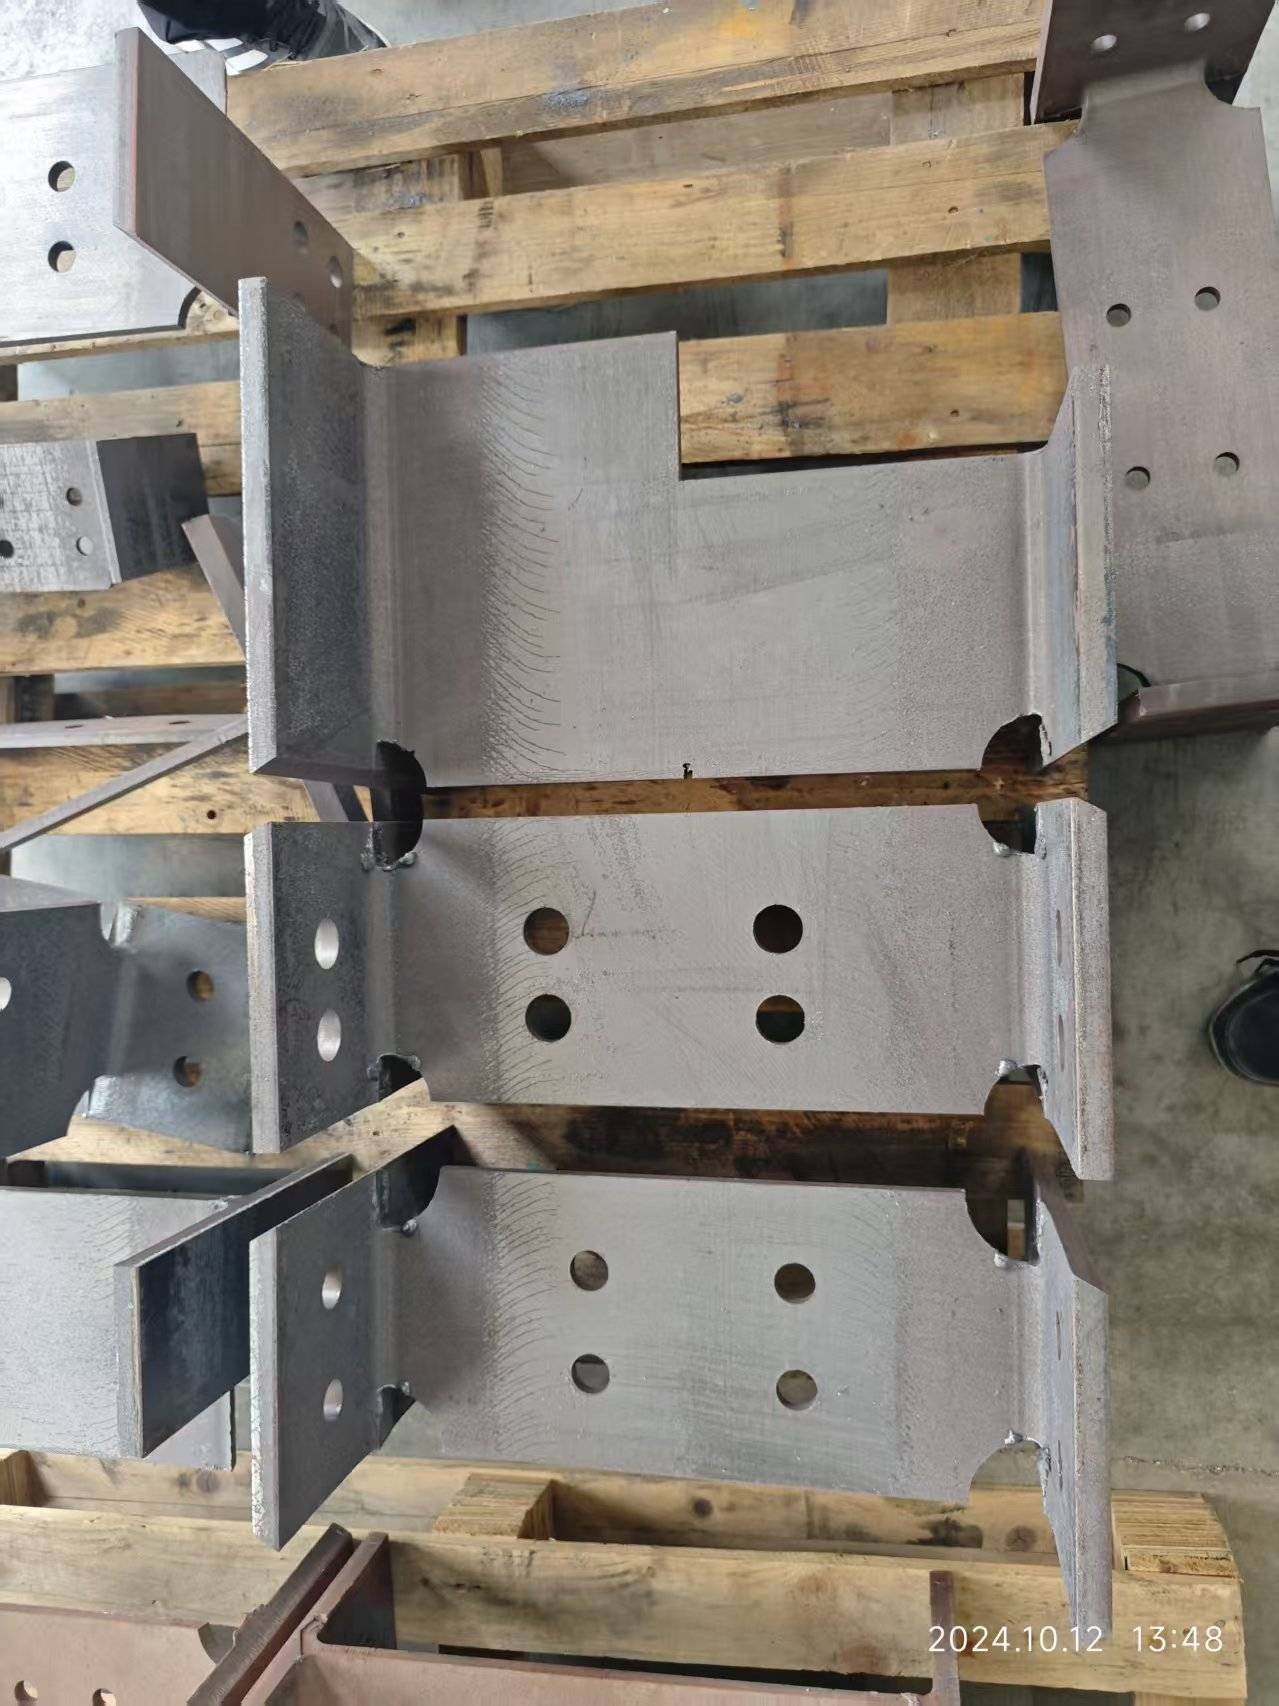
When we talk about utility-scale solar tube fabrication, the conversation usually starts with PV module mounting structures, tracker torque tubes, and fixed-tilt pile foundations. But the real bottleneck on the shop floor is rarely the design—it’s the conversion of raw steel tube stock into thousands of precisely cut, drilled, and chamfered components. The margin between profitability and loss in this sector is measured in seconds of laser cut time and millimeters of positional tolerance. Over the last two decades, I’ve watched fabricators struggle with the transition from manual layout and sawing to automated processing, and the single most impactful software upgrade they can make is adopting a smart nesting software for utility scale solar tube fabrication. This isn’t just about packing more parts into a 6-meter tube; it’s about orchestrating the entire cutting sequence to respect material stress, kerf compensation, and downstream welding compliance.
The Compliance Imperative: EN 1090 and the Hidden Cost of Scrap
Let’s cut straight to the physics of the problem. For solar tracker systems, we are predominantly working with S355JR or S235JR structural steel per EN 10025, often with a hot-dip galvanized finish applied post-fabrication. However, the cutting process itself is where you lose your certification readiness. If you are exporting to the EU or working on projects requiring CE marking, EN 1090-1 and EN 1090-2 (execution class EXC2 or EXC3) dictate strict tolerances on cut edge quality, lack of notches, and dimensional accuracy. A plasma-cut edge with a 2mm drag line or a saw-cut end with a burr will fail visual inspection under EN 1090-2, clause 6.4.3. This forces rework, which destroys your cycle time.
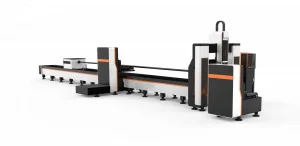
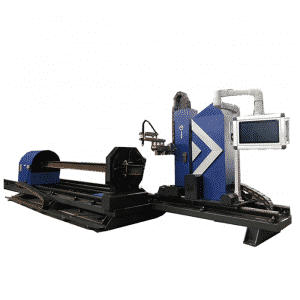
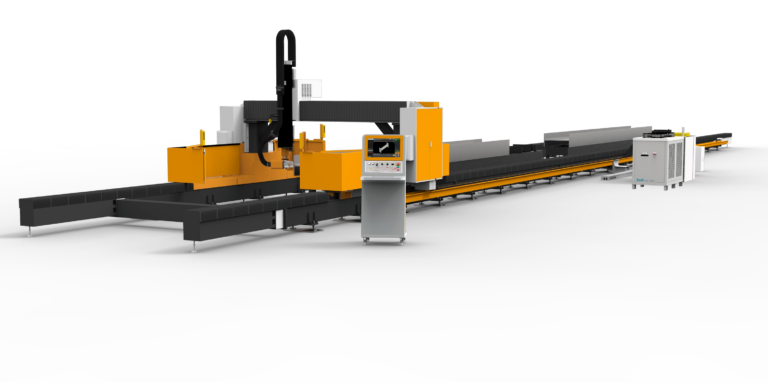
Here is where the software logic diverges from legacy methods. A conventional CNC sawing line operates on a linear index—cut, index, cut. It cannot optimize the rotational orientation of the tube to minimize waste on complex profile cuts. Conversely, a 2D laser cutting head on a 3D tube axis (typically using a 6-axis gantry or a dedicated tube laser with a chuck and steady rest) requires the nesting software to calculate the exact angular position (C-axis) and longitudinal feed (X-axis) for every feature. The smart nesting engine must account for the fact that the laser cutting head has a specific focal length and a conical cut zone. If the software nests parts too tightly without considering the taper of the cut kerf (usually 0.2mm to 0.3mm for a 3kW to 6kW fiber laser), you get interference on the exit side of the cut, leaving a sharp burr that violates the sharp-edge requirements of EN 1090.
Dynamic Sequencing and Chuck Pressure Dynamics
Let’s get into the operational specifics that separate a good day from a catastrophic one on the line. Consider a typical torque tube: 168.3mm OD, 5.0mm wall thickness, S355JR. The part requires a series of through-holes for module clamps and a profile cut at each end for the trunnion connection. In a legacy plasma or saw operation, you might run at 1.5 meters per minute. With a 4kW fiber laser, you are cutting at 4 to 6 meters per minute. But the bottleneck is not the cut speed; it is the acceleration and deceleration of the chuck.
Your smart nesting software must optimize the path to minimize the angular rotation of the chuck. Every time the C-axis spins 180 degrees, you incur a mechanical delay. The software should group all features facing the same direction (e.g., 0 degrees) before rotating to 90 degrees. This reduces the duty cycle on the servo drives and, critically, reduces the risk of the tube slipping in the chuck. We typically run pneumatic chucks at 0.6 to 0.8 MPa clamping pressure for thin-wall sections to avoid ovalization, but for thicker sections (8mm-10mm), we increase to 1.2 MPa. The nesting software must know the wall thickness and adjust the cutting sequence to prevent the part from dropping prematurely onto the lower cutting head, which would cause a collision. It does this by leaving micro-tabs (0.5mm to 1.0mm) at strategic points, which are calculated automatically based on the part weight and length.
Technical Comparison: Legacy vs. Smart Laser Integration
To quantify the upgrade, let’s look at the raw data from a recent line audit I conducted in a facility producing fixed-tilt piles. They were using a manual drill and saw operation. We benchmarked it against a fiber laser system running optimized nesting software. The difference is stark.
| Parameter | Conventional Sawing + Manual Drilling | Fiber Laser + Smart Nesting Software |
|---|---|---|
| Material Utilization (Yield) | 85% – 88% (due to fixed saw kerf of 4-6mm and non-optimized remnant lengths) | 94% – 97% (software nests parts within parts, uses remnant nesting algorithms, kerf of 0.2mm) |
| Cut Edge Quality (Ra) | Ra 12.5 – 25 µm (rough, requires deburring) | Ra 3.2 – 6.3 µm (clean, perpendicular, ready for welding) |
| Feature Accuracy (Hole/Profile) | ±1.0 mm (due to jig wear and manual positioning) | ±0.1 mm (due to servo control and thermal compensation) |
| Cycle Time (per 6m tube) | 45 minutes (including manual layout, drilling, and cutting) | 8 minutes (fully automated, including chamfering) |
| Heat Affected Zone (HAZ) | N/A (mechanical) or 3-5mm (if plasma used) | 0.5mm – 1.0mm (minimal, preserves galvanized coating integrity if pre-galv) |
| Gas Consumption | N/A | Nitrogen assist gas at 1.2 – 1.5 MPa for clean cuts on stainless; Oxygen at 0.8 MPa for mild steel to speed up. |
| EN 1090 Compliance | Requires extensive secondary grinding to meet edge tolerance. | Direct compliance if parameters are locked in the software. |
The data above is not anecdotal; it is derived from time studies and micrometer measurements. The shift from mechanical sawing to laser processing is not just a speed increase; it is a change in the physics of the cut. The laser’s ability to taper-cut (e.g., creating a 45-degree bevel for a full-penetration weld) directly on the tube eliminates a separate machining step. This is critical for EN 1090 EXC3, where weld preparation angles are strictly specified. The software must generate the bevel geometry and adjust the laser power and focus position accordingly. For instance, cutting a 45-degree bevel on a 6mm wall requires a specific focal point offset and a reduction in feed rate to roughly 60% of the straight-cut speed to ensure the assist gas (Nitrogen) effectively expels the molten material without creating a hardened edge.
Material Grade Considerations and Gas Dynamics
We must also address the material grades. While S355JR is standard for structural supports, we are seeing more requests for SUS304 (stainless steel) for coastal solar farms due to corrosion resistance. Cutting SUS304 with a fiber laser requires a different gas strategy. You cannot use Oxygen because it will cause oxidation and a rough, dark edge that is prone to intergranular corrosion. You must use Nitrogen at high pressure (1.4 to 1.5 MPa) to achieve a bright, oxide-free cut. The nesting software must have a material database that automatically adjusts the cutting parameters (pulse frequency, duty cycle, and gas pressure) based on the alloy grade assigned to the job. If the software is dumb and treats SUS304 like mild steel, you will get dross on the bottom edge that requires a secondary grinding operation, completely negating the laser’s speed advantage.
Furthermore, the software must handle the “last piece” problem. In utility-scale projects, you might need 1,200 pieces of a 2.4-meter long pile. The raw tube is 6 meters. The nesting software calculates that you can get two full parts (4.8m) and one remnant of 1.2m. Instead of scrapping that remnant, the software should automatically search the job queue for a shorter part (e.g., a 1.1m diagonal brace) that fits into that remnant, adjusting the cutting sequence to ensure the remnant is long enough to be clamped by the chuck for the final cut. This dynamic remnant management is where the “smart” in smart nesting truly pays off, often recovering 3-5% of material that would otherwise go to the scrap bin.
Shop Floor Integration and Traceability
Finally, let’s discuss the operational reality of the workshop floor. The software is not just a CAM tool; it is a data hub. It must interface with your ERP system to pull the Bill of Materials (BOM) and push back the actual cut time and material usage. For certification readiness, you need traceability. The software should embed a Data Matrix code (DMC) onto each cut part via a low-power laser marking sequence. This DMC links to the heat number of the raw material, the exact cutting parameters used, and the operator ID. This is non-negotiable for EN 1090 audits. If an auditor asks for proof that a specific part was cut with the correct parameters, you can scan the part and show the digital record. Without this integration, you are relying on paper travelers and operator memory, which is a liability.
The implementation of this technology requires a shift in mindset from “cutting parts” to “managing data streams.” The laser is merely an actuator; the software is the intelligence that ensures every cut is compliant, efficient, and traceable. The days of eyeballing a saw blade alignment are over. We are now in the era of closed-loop manufacturing where the software dictates the chuck pressure, the gas flow, and the path, and the machine executes it with micron-level precision.
Frequently Asked Questions for Procurement
Q1: Can the smart nesting software handle mixed material batches (e.g., S235JR and S355JR) without manual intervention?
Yes. The software reads the material grade from the barcode or manual input at the loading station. It automatically recalibrates the laser power curve and gas selection. For S355JR, it will increase the cutting speed slightly due to lower carbon content, but it will also adjust the focus position to manage the higher hardness of the material. The key is ensuring your machine has an automatic gas switching manifold to toggle between Nitrogen and Oxygen without stopping the cycle.
Q2: What is the minimum wall thickness the software can handle for EN 1090 compliant cuts without causing distortion?
For structural tubes, we generally see a lower limit of 2.0mm wall thickness. Below that, the heat input from the laser can cause warping. The software compensates by using a pulsed cutting mode (e.g., 500 Hz to 1000 Hz frequency) instead of continuous wave. This reduces the average heat input. However, for solar tracker components, we rarely go below 3.0mm due to structural load requirements. The software will flag any part below 2.0mm and recommend a different cutting strategy or a micro-joining technique to hold the part stable.
Q3: How does the software handle the transition from cutting a 6-meter tube to a 3-meter remnant to prevent the chuck from losing grip?
The software calculates the minimum clamping length required for the chuck (typically 150mm to 200mm). When the remaining tube length reaches that threshold, it pauses the cutting sequence. It then instructs the operator to either remove the remnant or reposition it in the chuck. In an automated line, the machine will automatically eject the remnant onto a sorting conveyor and load a new tube. The software tracks the remnant inventory and will automatically use it for smaller parts in the next job order, ensuring zero manual measurement errors.