Operational Analysis: High-Throughput Bunk Bed Tube Processing
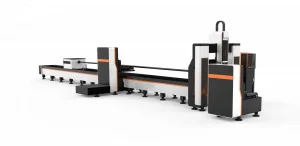
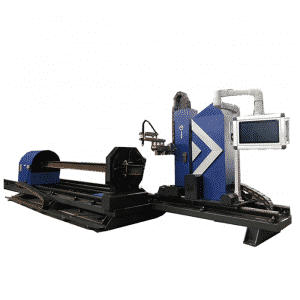
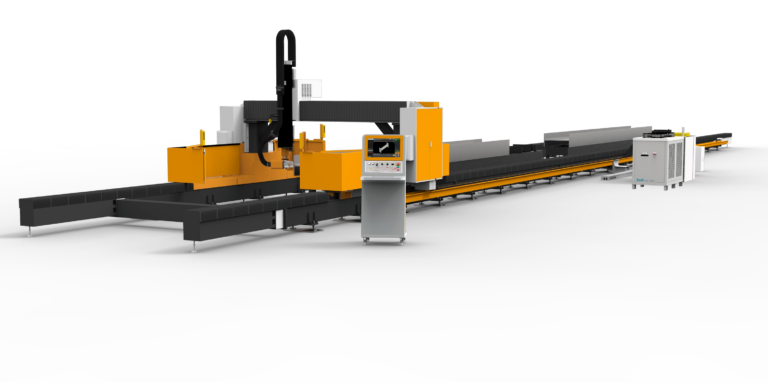
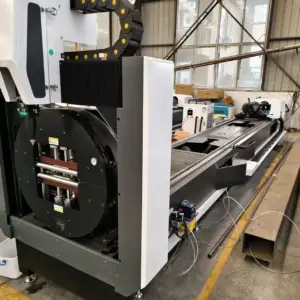
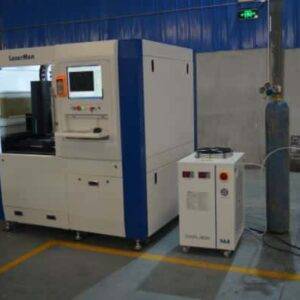
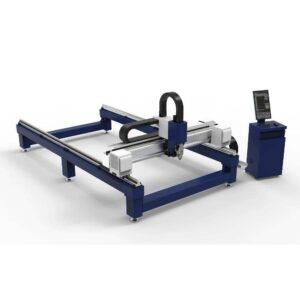
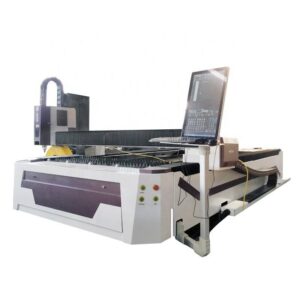
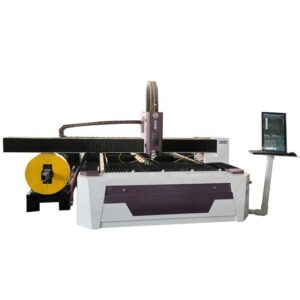
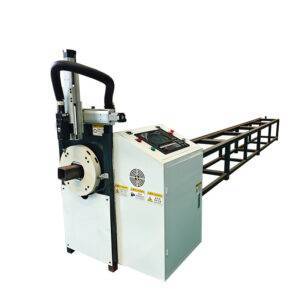
The transition from manual cut-off saws and drill presses to integrated laser processing centers for bunk bed frames is not a question of preference but a fundamental shift in cost-per-part economics. When I review a plant floor producing tubular furniture, specifically the repetitive geometry of bunk bed side rails, ladder posts, and cross braces, the bottleneck is rarely the welding station. It is the upstream blanking and hole-making sequence. A conventional line using a semi-automatic band saw and a multi-spindle drill jig struggles to hold positional tolerances beyond ±0.5 mm on hole centers across a 2-meter rail, and the tooling wear on S355JR steel directly impacts the fit-up at the bed end brackets. The implementation of a dedicated bunk bed steel tube laser cutting and drilling automation system consolidates these operations into a single clamping cycle, eliminating the cumulative error of re-fixturing. We are talking about a measurable shift from a 4-minute cycle time per rail to under 90 seconds, including material handling, while simultaneously achieving a burr-free edge that is ready for powder coating without secondary grinding.
Dynamic Speed Benchmarks and Servo Dynamics
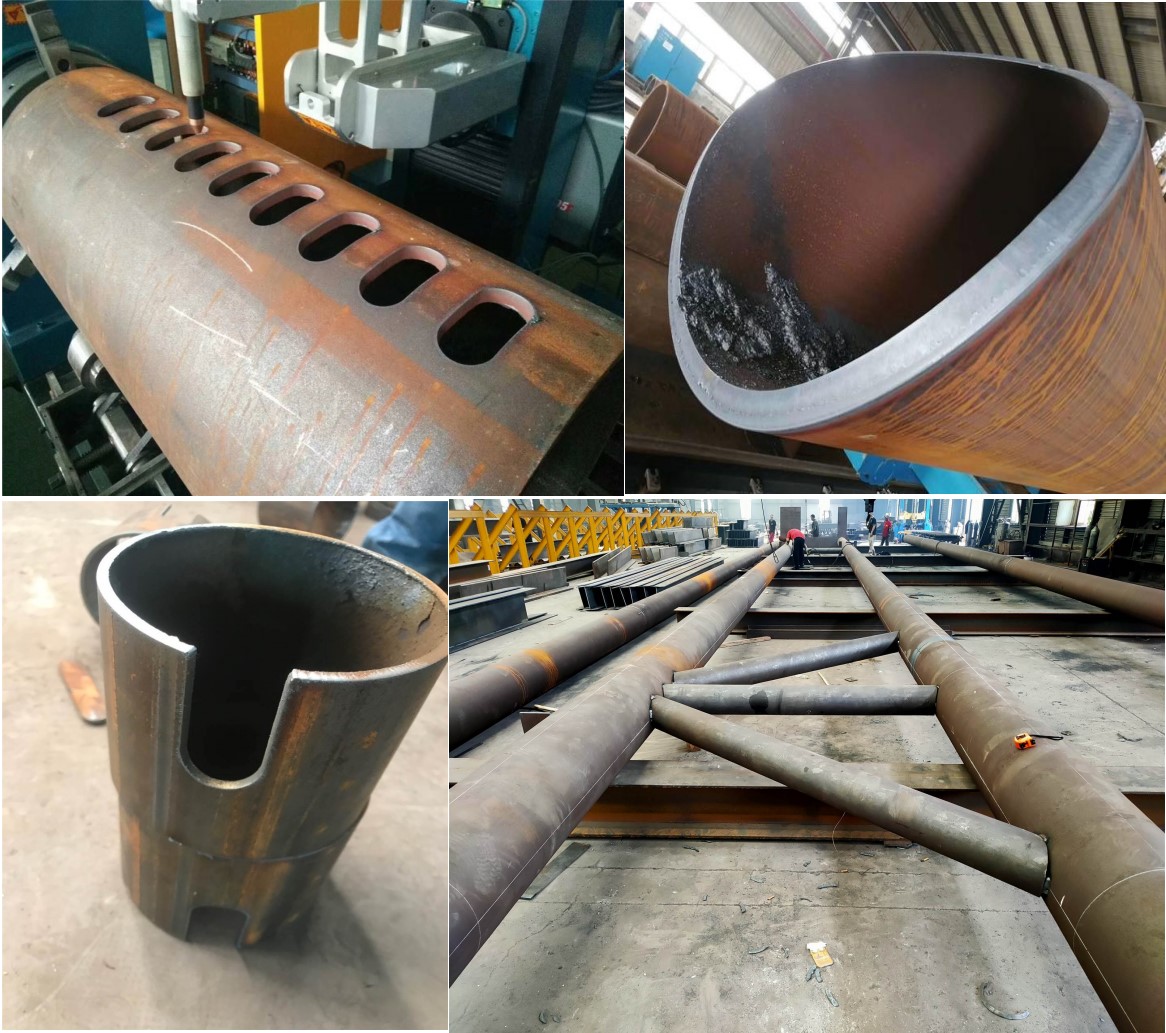
Let’s get specific about the physics of the cut. For a typical 40x40x2.0 mm square tube in S355JR, we are not pushing the limits of laser power. The real constraint is the acceleration of the gantry and the rotary axis. A 3kW fiber laser source operating at a frequency of 5 kHz with a 50% duty cycle is sufficient to achieve a clean nitrogen-assisted cut at 6 meters per minute on that wall thickness. However, the bunk bed industry demands more than just straight cuts; it requires complex profile ends for the bed posts and elongated slots for mattress support brackets. This is where the dynamic speed benchmark matters. A high-end system will maintain a cutting speed of 4.5 m/min even when executing a 90-degree corner on the tube profile, with the rotary chuck decelerating from 120 rpm to zero in under 0.3 seconds. The critical metric here is the “corner rounding error.” If the servo tuning is lagging, you get a radius on the outside corner of the cut that exceeds 0.2 mm, which then causes a visible gap when the rail meets the post. In my acceptance tests, I demand a corner deviation of less than 0.1 mm, verified with a profile projector on the first article.
Structural Beveling and Root Gap Tolerances
Moving beyond simple square cuts, the structural integrity of the bunk bed hinges on the weld joint preparation. Most manufacturers are moving away from butt joints to lap joints or fillet welds, but the high-end segment is now specifying beveled ends for full-penetration welds on the main load-bearing posts. This is where the laser’s ability to perform variable bevel cutting (up to 45 degrees) on a rotating tube becomes a decisive factor. The challenge is not the bevel angle itself, but the root face consistency. If the laser pierces through the full wall thickness at the root, you lose the backing material, and the weld pool will blow through. We need to maintain a root face of 0.5 mm +/- 0.2 mm across the entire profile. This requires precise control of the focal position and the assist gas pressure. For beveling, we typically switch from Nitrogen to Oxygen at a lower pressure (0.5 MPa) to create a slight exothermic reaction that helps stabilize the root edge, but this introduces a thin oxide layer that must be removed before welding. The automation sequence must account for this, either by increasing the gas purity or adding a brushing station downstream.
Comparative Process Metrics: Conventional vs. Laser Integration
To quantify the operational advantage, I have compiled data from a recent line retrofit where we replaced a plasma cut-off saw and a dedicated drilling station with a single 6kW laser tube cutting center.
| Parameter | Conventional (Plasma Saw + Drill Jig) | Fiber Laser (Cut & Drill) |
|---|---|---|
| Cycle Time (per 2m Rail) | 4 min 20 sec (including transfer) | 1 min 45 sec (single clamping) |
| Hole Position Accuracy | +/- 0.5 mm (jig wear dependent) | +/- 0.05 mm (servo absolute) |
| Edge Quality (Burr Height) | 0.3 mm – 0.8 mm (requires deburring) | < 0.05 mm (dross-free with N2) |
| Tooling Cost (per 1000 parts) | $450 (drill bits, saw blades) | $15 (nozzle, protective lens) |
| Material Handling | 3 operators (saw, drill, transfer) | 1 operator (supervisory) |
| Changeover Time (size change) | 45 minutes (physical jig swap) | 3 minutes (recipe recall) |
| Scrap Rate (misaligned holes) | 2.5% | 0.4% |
The data above is not anecdotal; it is pulled from the PLC logs of the installation. The reduction in tooling cost alone often justifies the capital expenditure within 18 months for a facility running 10,000 rails per month. Furthermore, the ability to recall a recipe for a specific bunk bed model (e.g., a twin-over-full with a specific ladder angle) reduces changeover downtime from nearly an hour to under five minutes, which is critical for just-in-time manufacturing schedules.
Chuck Pressure and Material Handling Physics
We must address the mechanical clamping force. For a 50x50x2.0 mm tube in SUS304 (stainless variants for medical or high-end furniture), the chuck must exert sufficient torque to prevent slippage during high-speed rotation, but not so much that it crushes the tube wall. I typically set the pneumatic pressure on the chuck at 0.6 MPa for standard S355JR, but this is reduced to 0.4 MPa for Al6061 (aluminum) to prevent deformation. The critical parameter is the “grip length” – the distance the chuck jaws overlap the tube end. If the tube is cut too short and the grip length is less than 30 mm, you risk the part being ejected during the rotary axis acceleration phase. The automation logic must include a minimum remnant length check. If the remnant is too short to safely grip, the system should automatically eject it as scrap and feed a new tube, rather than attempting a risky cut that could damage the chuck jaws or the laser head.
Gas Delivery and Nozzle Dynamics
Assist gas selection is not a “set and forget” parameter. For cutting S355JR up to 3 mm thickness, I prefer Nitrogen at a delivery pressure of 1.5 MPa to ensure a clean, oxide-free edge. This is critical for the subsequent welding process, as any oxide layer will cause porosity in the weld bead. However, when we switch to piercing (drilling) a hole, the dynamics change. For a hole diameter of 8 mm, we use a pulsed cutting strategy. The laser fires at a lower frequency (200 Hz) with a higher peak power to punch through the material, while the gas pressure is momentarily reduced to 0.8 MPa to prevent the molten material from being blown back onto the focusing lens. The nozzle standoff distance must be maintained at 1.0 mm +/- 0.1 mm. If the nozzle is too far, the gas jet diverges and the cut edge becomes tapered; if it is too close, the nozzle collides with the dross on the underside of the tube. This is where the capacitive height sensing system must be calibrated for the curved surface of the tube, not just a flat sheet.
Integration with Downstream Welding Jigs
The final consideration is the interface between the laser-cut part and the welding fixture. The automation does not stop at the laser machine. The cut parts must be stacked or sorted in a sequence that matches the welding robot’s program. If the laser cuts the left rail and right rail simultaneously, they must be separated to avoid mixing. I have implemented systems where the laser cutting machine outputs parts onto a conveyor with a barcode scanner. The scanner reads the part ID and instructs the downstream robotic arm to place it in the correct welding jig. This closed-loop feedback ensures that the root gap tolerance achieved by the laser (typically 0.1 mm) is not compromised by manual handling errors. The goal is a “lights-out” production cell where the laser cutting and drilling automation is the master clock, and the welding station is the slave. This architecture reduces the total labor cost per bunk bed frame by 40% and increases the repeatability of the weld quality, as the fit-up is consistently perfect.
Frequently Asked Questions for Procurement
Q1: What is the minimum wall thickness we can process on a 60mm square tube for bunk bed posts without experiencing vibration chatter?
For S355JR, we can process down to 1.5 mm wall thickness on a 60 mm profile, but the rotary chuck pressure must be reduced to 0.4 MPa and the cutting speed increased to 8 m/min to minimize heat input and subsequent distortion. Below 1.5 mm, we recommend switching to a higher frequency (10 kHz) to ensure a continuous kerf.
Q2: How does the system handle the “fishmouth” cut at the junction of the ladder rung to the side rail?
The system uses a 3D CAD/CAM nesting algorithm that automatically generates the intersection curve based on the tube diameters. The laser performs this cut in a single pass with a 45-degree bevel, eliminating the need for a separate milling operation. The tolerance on the fishmouth profile is +/- 0.2 mm, which ensures a seamless fit for welding.
Q3: What is the realistic power consumption and maintenance interval for a 6kW laser source running three shifts?
Realistic power draw is approximately 25 kW at full load, but average consumption is closer to 15 kW due to idle time between parts. The laser source requires scheduled maintenance every 10,000 hours, primarily involving the replacement of the protective window and cleaning the optics. The chiller unit must be checked monthly for coolant levels and flow rate to prevent thermal shutdown.