Precision Flange Welding Prep Using 3D Laser Tube Cutter: A Shop-Floor Analysis of Clamping, Synchronization, and Deformation
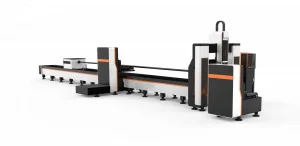
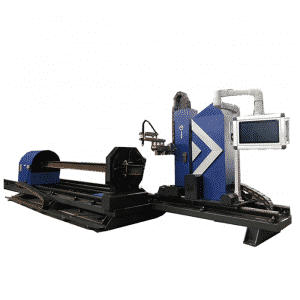
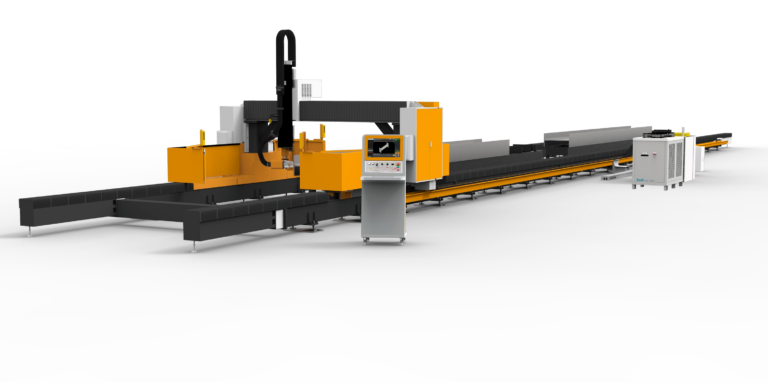
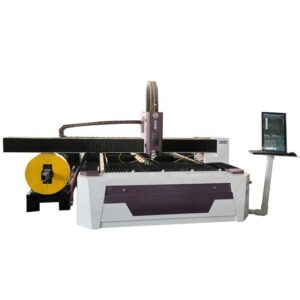
Flange-to-tube weld joints on structural and pressure-bearing assemblies live or die by the fit-up tolerance at the saddle. When the tube end is cut square, burr-free, and dimensionally concentric within ±0.05 mm, a GMAW or TIG root pass can be run at consistent travel speed with predictable penetration. When it is not, the welder compensates with wire feed manipulation, heat input climbs, and the HAZ widens into a distortion problem that no amount of fixturing will recover. This is the operational argument for adopting a precision flange welding prep using 3D laser tube cutter as the upstream process step rather than treating tube end preparation as a secondary saw operation.
The technical case is not about cut speed. It is about the interaction of three subsystems that determine whether the machine holds tolerance across a production shift: pneumatic chuck clamping dynamics, rotary axis synchronization, and thin-wall deformation control. Each of these has a measurable failure mode that shows up as weld reject rate, not as a machine alarm.
Pneumatic Chuck Clamping Dynamics
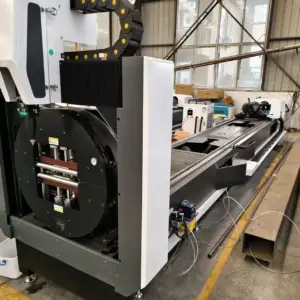
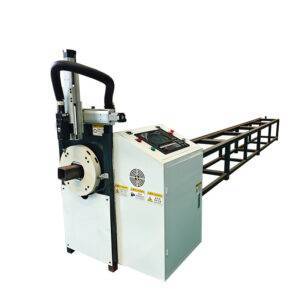
A 3D laser tube cutter handling round, square, and rectangular stock typically runs a four-jaw or six-jaw pneumatic chuck with independent jaw pressure regulation. The common mistake on the shop floor is running a single plant-air setpoint across all wall thicknesses. For a 304 stainless tube at 2.0 mm wall, a clamping pressure of 0.6 to 0.8 MPa is sufficient to prevent slip during rapid rotary indexing. Push that same pressure onto a 1.2 mm wall Al6061 tube and you induce ovality at the jaw contact points that survives the cut and shows up as a gap at the flange interface.
Practical setup rules that hold up in production:
- Segregate clamping pressure by wall thickness band: 0.4–0.5 MPa for walls under 1.5 mm, 0.6–0.8 MPa for 1.5–3.0 mm, 0.9–1.2 MPa for heavy-wall S355JR beyond 4 mm.
- Use soft jaws with a radius matched to the tube OD; a 0.2 mm mismatch concentrates contact stress and creates a witness mark that becomes a fatigue initiation site on cyclically loaded structures.
- Verify chuck repeatability with a dial indicator on a ground test bar after every 500 hours. Radial runout beyond 0.03 mm TIR will translate directly into taper on the cut face.
- Monitor air supply dew point. Moisture in the pneumatic circuit causes jaw pressure drift across a shift, which is one of the most common causes of “the machine was fine yesterday” dimensional complaints.
Rotary Axis Synchronization
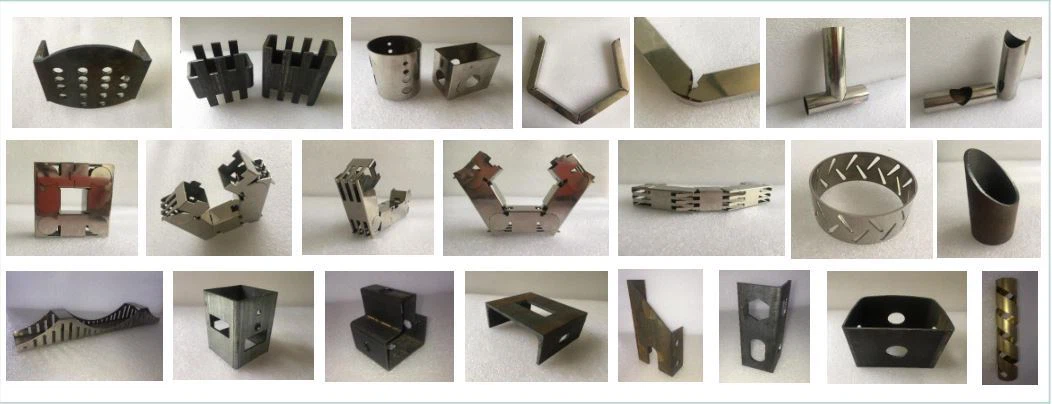
Cutting a flange saddle profile — whether a simple 90-degree square cut, a 45-degree miter, or a compound contour for an angled branch — requires the rotary axis (A or B) to stay phase-locked with the linear axes during interpolation. On a tube with a seam or an out-of-round condition, the controller must track the actual surface, not the nominal CAD cylinder. This is where 3D laser tube cutters with capacitive height sensing and real-time rotary feedback separate themselves from 2-axis machines running a nominal path.
Key parameters to audit:
- Rotary backlash: anything above 0.02 degrees accumulates over a 360-degree contour and produces a visible step at the seam start/end.
- Servo loop gain matching between rotary and linear axes. Mismatched gain causes corner rounding on square tube profiles at high feed rates.
- Fiber laser source settings for the material: SUS304 at 2.0 mm typically runs 1.5–2.0 kW average power, 100% duty cycle, 1.2–1.5 MPa nitrogen assist for a clean oxide-free edge. Al6061 requires higher peak power and oxygen or nitrogen depending on whether the weld prep needs a specific surface chemistry.
- Focal position drift over thermal cycles. A 0.5 mm focal shift on a 1.5 mm wall changes kerf width and taper enough to fail a fit-up gauge.
Thin-Wall Deformation Control
Thin-wall tube — 1.0 to 2.0 mm in stainless and aluminum — is where the process either works or generates scrap. The dominant deformation mechanisms are clamping ovality (covered above), thermal input from the cut itself, and residual stress release when the tube is unclamped. Nitrogen assist at 1.2–1.5 MPa does double duty: it shields the kerf and provides enough dynamic pressure to eject dross without requiring excessive peak power that would widen the HAZ.
For S355JR structural tube at 3.0 mm, oxygen assist at 0.5–0.8 MPa can be used where edge chemistry is not critical, but for weld prep on pressure or fatigue applications, nitrogen is the correct choice despite the higher cost per part. The oxide-free edge eliminates a pickling or grinding step and removes a variable from the weld procedure qualification.
Comparative Process Data
| Parameter | Conventional Plasma / Mechanical Saw | 3D Laser Tube Cutter (Fiber) |
|---|---|---|
| Cut face tolerance (round tube) | ±0.5 to ±1.0 mm | ±0.05 to ±0.10 mm |
| Perpendicularity at flange interface | 0.5–1.5 degrees typical | <0.1 degree |
| Secondary operations required | Deburr, grind, sometimes re-machine | None for most weld preps |
| HAZ width (2 mm SUS304) | 1.5–3.0 mm | 0.1–0.3 mm |
| Setup time per profile change | 15–45 min (fixture + trial cut) | 2–5 min (program recall) |
| Assist gas consumption | Compressed air / plasma gas, high volume | N2 at 1.2–1.5 MPa, metered |
| Weld reject rate (flange fit-up) | 4–8% | <1% |
| Applicable alloys | Carbon steel, limited stainless | S355JR, SUS304, Al6061, duplex |
Integration Notes for Weld Cell Planning
The upstream cut quality determines the downstream weld procedure. When the flange saddle is cut on a 3D laser tube cutter with the parameters above, the welder can run a qualified procedure at fixed voltage, wire feed, and travel speed without compensating for gap variation. That consistency is what allows a shop to move from manual TIG to automated GMAW on flange joints without requalifying the procedure for every batch.
Two integration points deserve attention. First, the cut program should output the flange mating surface with a defined edge preparation — a 30-degree land or a square edge — matched to the weld procedure specification. Second, the tube should be marked or the program should track the rotary zero reference so the welder can index the flange to the correct clock position without a separate layout step.
FAQ: Procurement and Technical Evaluation
What wall thickness range can a 3D laser tube cutter handle for flange weld prep?
Most production machines in this class handle 0.5 mm to 12 mm wall on carbon steel and stainless, with aluminum typically limited to 8 mm depending on laser power. For flange weld prep specifically, the practical sweet spot is 1.0 to 6.0 mm, where the cut face tolerance and HAZ control deliver the largest downstream benefit.
How does clamping pressure affect cut accuracy on thin-wall tube?
Excessive clamping pressure on walls under 1.5 mm induces ovality that survives the cut and creates a gap at the flange interface. The correct approach is to regulate chuck pressure by wall thickness band — 0.4–0.5 MPa for thin wall, up to 1.2 MPa for heavy wall — and to use soft jaws matched to the tube OD.
What assist gas and pressure should be used for SUS304 and Al6061 flange prep?
For SUS304 at 1.5–2.0 mm, nitrogen at 1.2–1.5 MPa with 1.5–2.0 kW average power produces an oxide-free edge suitable for direct welding. Al6061 requires higher peak power and nitrogen assist to control dross and reflectivity; oxygen is generally avoided where weld chemistry matters.