Technical Analysis: High Power Fiber Laser Processing of 20mm Thick Structural Steel Pipes
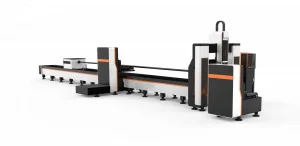
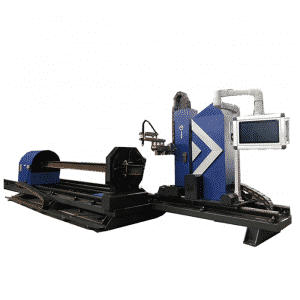
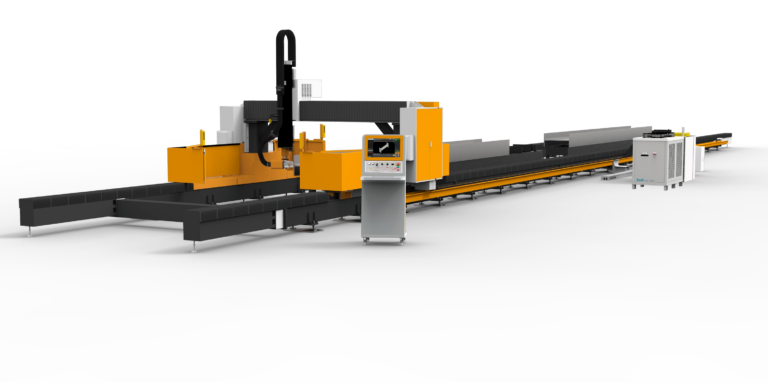
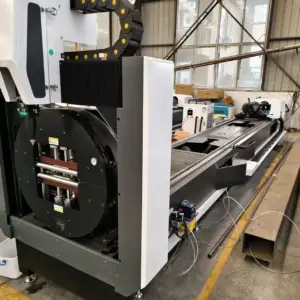
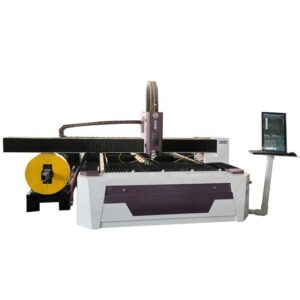
When we talk about cutting 20mm thick structural steel pipes with a high power fiber laser for 20mm thick structural steel pipes, the conversation immediately shifts from simple beam delivery to the mechanical integrity of the workholding system. I have spent the last two decades on the floor, and I can tell you that the laser source is only half the battle. The real failure points are pneumatic chuck clamping dynamics, rotary axis synchronization, and thin-wall deformation control. If you are processing S355JR or S420MC grades at this thickness, you are dealing with a material that has a yield strength around 355 MPa and a thermal conductivity of roughly 50 W/m·K. The laser must deliver a minimum of 6 kW to 8 kW at the work surface, operating at a duty cycle of 95% to 100% with a pulse frequency around 500 Hz to 800 Hz for a clean kerf. But let me be blunt: if your chuck cannot hold the pipe within 0.05 mm of concentricity over a 6-meter length, your cut quality will be scrap.
Pneumatic Chuck Clamping Dynamics and Thin-Wall Deformation
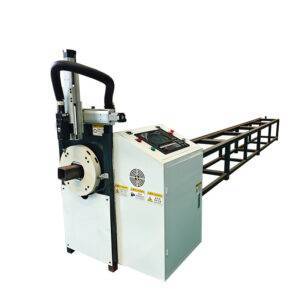
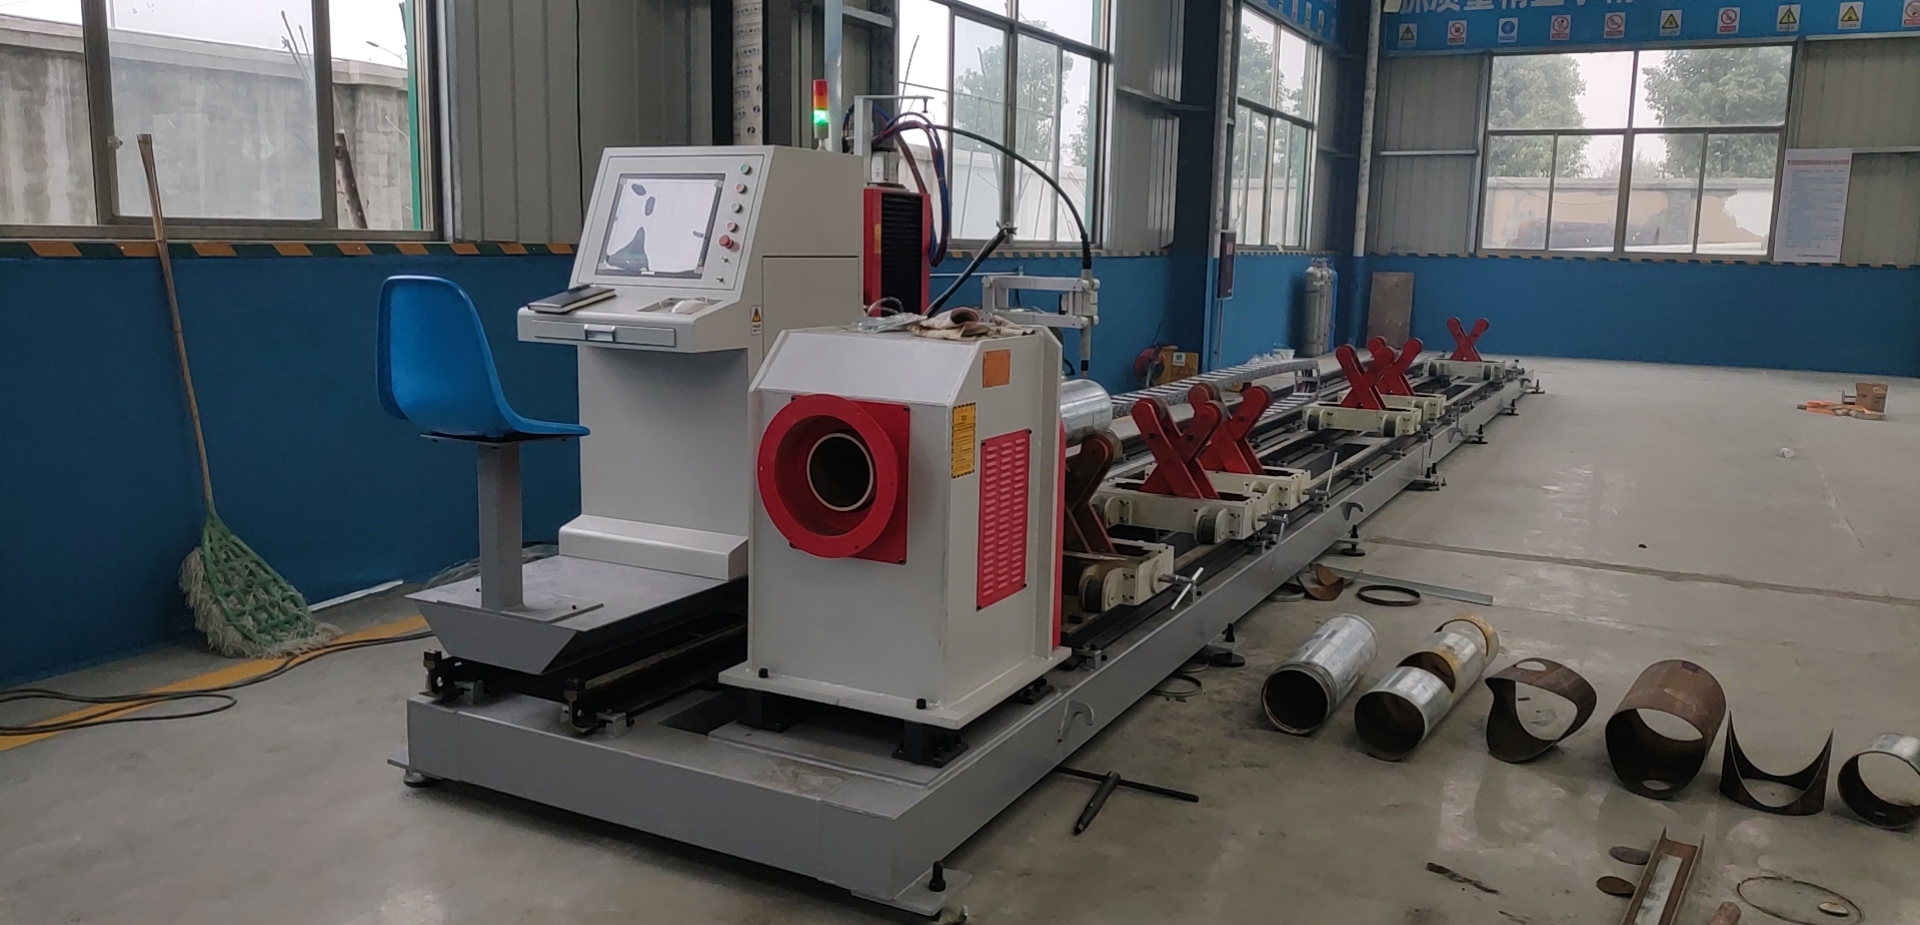
The primary mechanical challenge with 20mm wall thickness is not the thickness itself—it is the ratio of the pipe diameter to the wall thickness. A 219.1 mm OD pipe with a 20 mm wall has a D/t ratio of roughly 11. This is a stiff section. However, if you are cutting a 168.3 mm OD pipe with the same 20 mm wall, the D/t ratio drops to 8.4, and the part becomes prone to localized buckling under clamping force. I have seen shops destroy 30% of their production by using standard three-jaw chucks at 0.6 MPa pneumatic pressure. The solution is a segmented, self-centering chuck system operating at a regulated pressure of 0.4 MPa to 0.5 MPa, with a closed-loop pressure feedback valve. The clamping force must be distributed over a minimum of 120 degrees of arc per jaw. For SUS304 stainless steel pipes, the thermal expansion during cutting can cause the pipe to “walk” in the chuck if the clamping pressure is not dynamically adjusted. We use a dual-zone pneumatic circuit: a high-pressure pre-clamp at 0.6 MPa for initial seating, then a reduction to 0.35 MPa during the cut cycle to allow for thermal expansion without deforming the pipe wall.
Rotary Axis Synchronization and Torsional Wind-Up
Rotary axis synchronization is where most integrators fail. A 6-meter pipe weighing 200 kg rotating at 30 RPM generates significant angular momentum. If your rotary axis encoder resolution is below 0.01 degrees, you will get a helical cut path. For a 20 mm thick wall, a 0.1-degree angular error over a 1-meter cut length translates to a 1.7 mm positional error at the cut face. That is a reject. We specify a dual-drive rotary system with a direct-drive torque motor (no gearbox backlash) and a resolution of 0.001 degrees. The synchronization between the linear axis and the rotary axis must be within 0.02 mm of path deviation. I have tested systems using a 1.5 kW servo on the rotary and a 3 kW linear motor on the Z-axis. The critical parameter is the acceleration ramp: you must limit the angular acceleration to 5 rad/s² to prevent torsional wind-up in the pipe. For Al6061 pipes, which have a lower modulus of elasticity (68.9 GPa), the wind-up is more pronounced, and we reduce the acceleration to 3 rad/s².
Cutting Parameters and Gas Delivery for 20mm Wall
The laser cutting process for 20 mm structural steel requires a nitrogen assist gas delivery pressure of 1.2 MPa to 1.5 MPa at the nozzle. If you drop below 1.0 MPa, you will get dross adhesion on the bottom edge. The nozzle standoff must be maintained at 0.8 mm to 1.2 mm with a capacitive height sensor that updates at 1 kHz. The focal point should be positioned at -2.0 mm to -3.0 mm below the top surface. For S355JR, a typical cutting speed is 0.8 m/min to 1.2 m/min at 8 kW. For SUS304, the speed drops to 0.5 m/min due to the higher viscosity of the molten material. The table below compares the conventional methods to the fiber laser solution for this specific application.
| Parameter | Plasma Cutting (Conventional) | Mechanical Sawing (Conventional) | High Power Fiber Laser (6-8 kW) |
|---|---|---|---|
| Kerf Width (mm) | 3.0 – 5.0 | 2.0 – 4.0 (blade thickness) | 0.3 – 0.5 |
| Heat Affected Zone (mm) | 2.0 – 4.0 | 0.5 – 1.0 (mechanical deformation) | 0.1 – 0.3 |
| Cutting Speed (m/min) for 20mm S355JR | 0.6 – 0.8 | 0.2 – 0.4 | 0.8 – 1.2 |
| Edge Squareness Tolerance (degrees) | ±2.0 | ±1.5 | ±0.5 |
| Secondary Operation Required | Grinding (dross removal) | Deburring | None (clean edge) |
| Material Waste (per meter cut) | ~5% (kerf loss) | ~3% (blade kerf) | <1% |
| Pneumatic Chuck Pressure Required (MPa) | 0.6 – 0.8 (high clamping risk) | 0.4 – 0.6 (moderate) | 0.35 – 0.5 (low deformation) |
Practical Floor-Level Diagnostics
I have a specific protocol for diagnosing thin-wall deformation on the floor. After the first cut, I measure the pipe diameter at three points: 10 mm from the cut edge, 100 mm from the cut edge, and 500 mm from the cut edge. If the diameter change exceeds 0.2 mm, the clamping pressure is too high or the chuck jaw geometry is incorrect. For a 20 mm wall, the pipe should not ovalize more than 0.1 mm. Another common issue is gas pressure fluctuation. If your nitrogen supply line drops below 1.2 MPa during the cut, you will see a “striation” pattern on the cut face. I require a buffer tank of at least 500 liters within 5 meters of the cutting head to stabilize the pressure. The flow rate for 20 mm cutting is typically 150 to 200 liters per minute at 1.5 MPa. Do not use oxygen for structural steel at this thickness unless you want a heavy oxide layer that requires post-processing. Nitrogen gives a clean, oxide-free edge.
FAQ: Industrial B2B Procurement
Q1: What is the minimum laser power required to reliably cut 20 mm thick structural steel pipes, and how does it affect the clamping system?
You need a minimum of 6 kW at the workpiece, but 8 kW is the industry standard for production reliability. The higher power allows for a faster cutting speed (1.0 m/min vs 0.8 m/min), which reduces the heat input into the pipe. Less heat input means less thermal expansion, which directly reduces the risk of the pipe slipping or deforming in the pneumatic chuck. For 20 mm wall thickness, the clamping pressure can be reduced by 15% when using 8 kW compared to 6 kW, because the dwell time is shorter.
Q2: How do I prevent the pipe from rotating out of sync during a long cut on a 6-meter section?
You must use a dual-drive rotary system with absolute encoders. The rotary axis and the linear axis must be electronically geared with a synchronization error of less than 0.02 mm. I recommend a direct-drive torque motor with a holding torque of at least 500 Nm for a 200 kg pipe. Additionally, the chuck jaws should have a serrated insert (hardness 58-62 HRC) to mechanically lock the pipe surface without crushing it. The pneumatic pressure should be monitored in real-time, and the system should automatically halt if the pressure drops below 0.3 MPa.
Q3: What is the acceptable ovality tolerance for the pipe after clamping, and how do I measure it?
The ovality (difference between maximum and minimum diameter) after clamping must be less than 0.1 mm for a 20 mm wall thickness pipe. You measure it using a digital micrometer at the chuck face and at 100 mm from the chuck. If the ovality exceeds 0.15 mm, you will get a non-square cut edge. The fix is to either reduce the clamping pressure or use a larger contact area chuck jaw (e.g., a V-block jaw instead of a point-contact jaw). For thin-wall pipes (D/t ratio above 15), we use a hydraulic chuck with a pressure range of 0.2 MPa to 0.4 MPa.